I did this awhile back, with software that has since been updated. I created a 3.5″ tall sculpt using Sculpey applied over an aluminum foil armature of the head & shoulders. It was detailed and then fired in the oven to harden it.
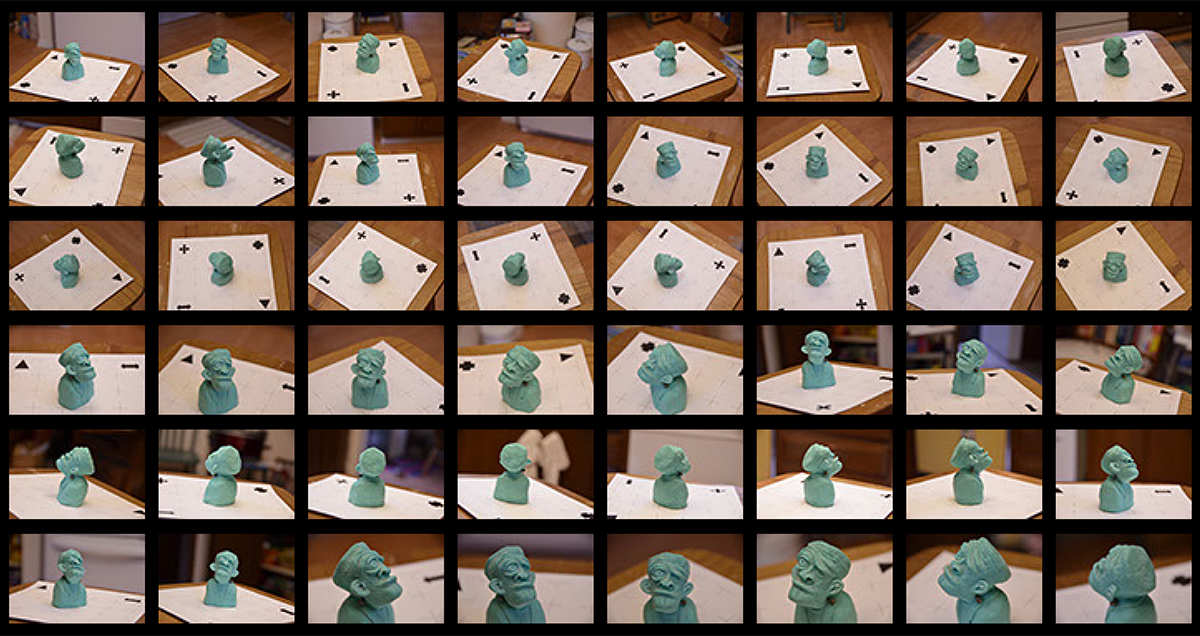 To generate the 3d mesh, I used 123D Catch by Autodesk. I placed the head on a printed paper with reference marks, then photographed it from various angles. One thing I found I did wrong was not set the depth of field deep enough, so I got blurring on my reference images. After I created 30ish images, they were fed into 123D Catch where it generated a point cloud of data points. It then created an averaged mesh from the cloud. Odd thing is you have to upload your mesh, wait for their servers to build it and then they can post it on their site. I’m not really a fan of that workflow. It brings into question ownership.
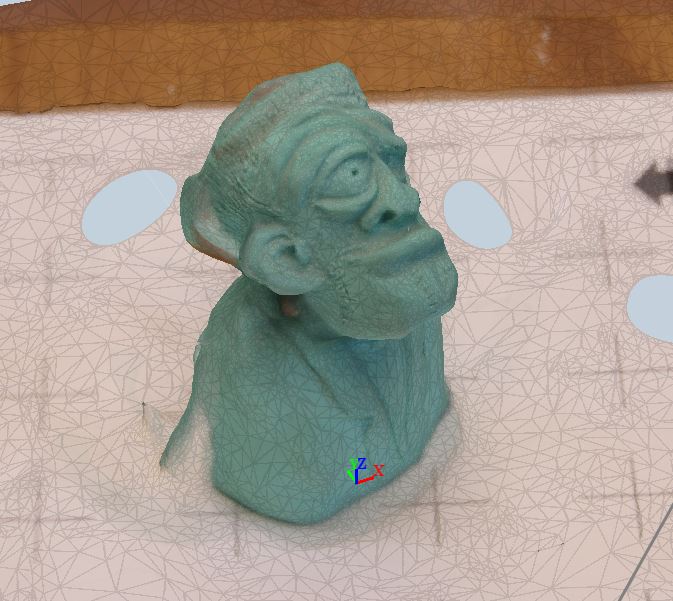 I fed that file into 3DS Max and cleaned up holes and a few anomalies as well as capping off the base. The file was then imported into Zbrush where it was re-topologized.
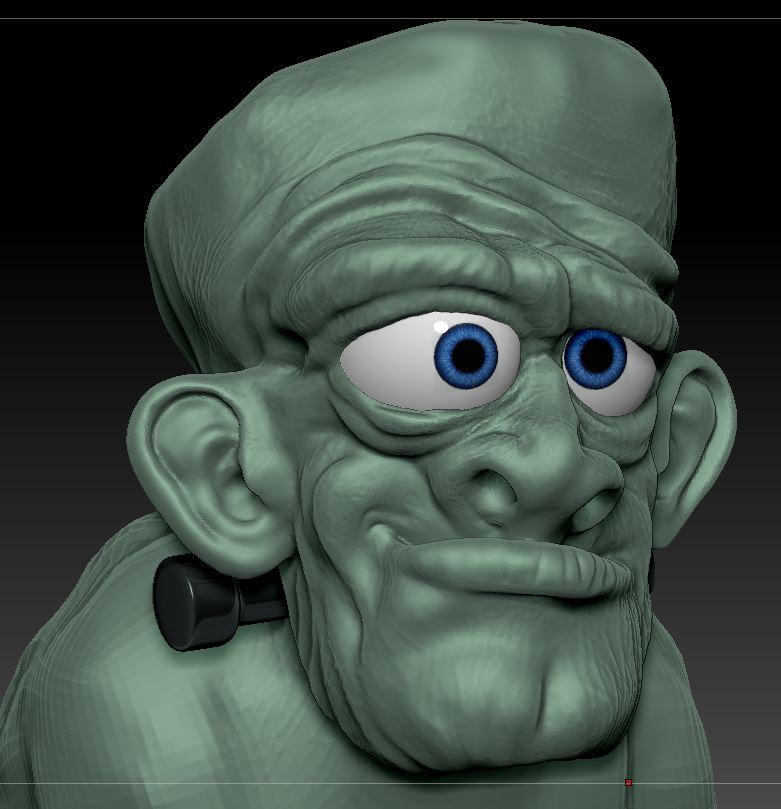
 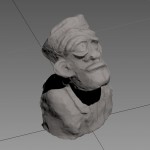 I added eyes and a simple metal electrode to the neck. Using Dynamesh, I was able to reset the topology distribution and flesh out a bit more of the details. It still has some work to do, but the process worked reasonably well to block in a mesh from photographic source.